This article will help you to set default document in IIS for any website configured. To do it follow the below step by step instruction’s:
1. Start IIS
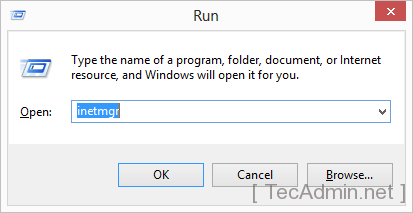
Go to run window and type “inetmgr” and hit enter to open IIS web server in your windows system.
2. Select Default Document Option
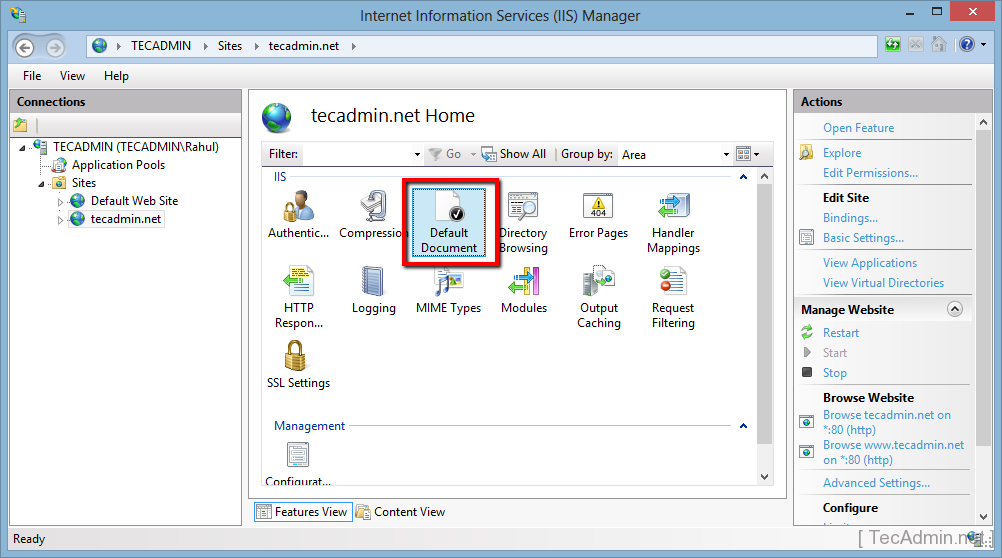
Now go under sites option in left side bar and select your site. Now click on “Default Document” option as per showing in below screenshot.
3. Enter Default Page Name
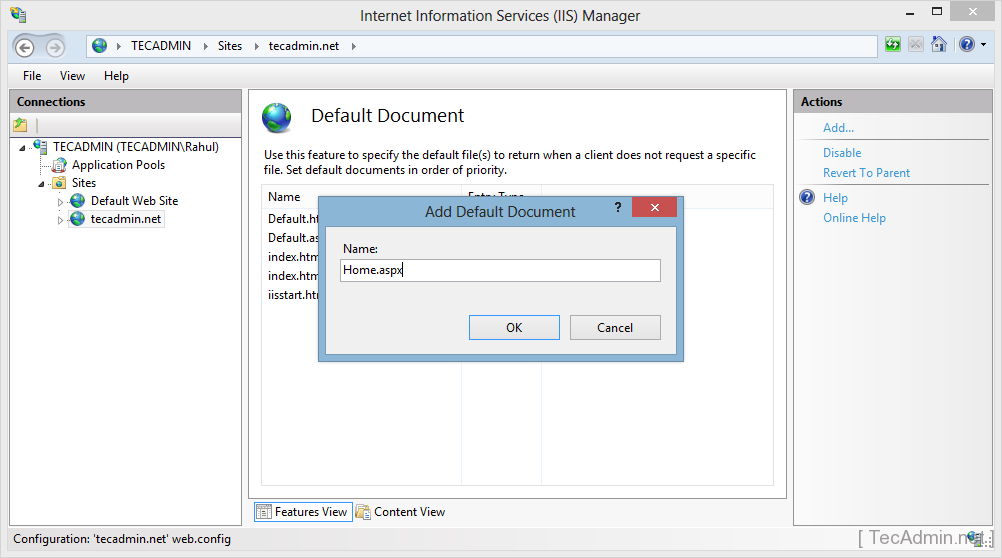
- Now you will show a list of pages which is globally set as default document for your website.
- Now click on Add button in right sidebar.
- It will show a pop-up. Enter your filename to set as default document and click OK.

4. Set Top in Priority Order
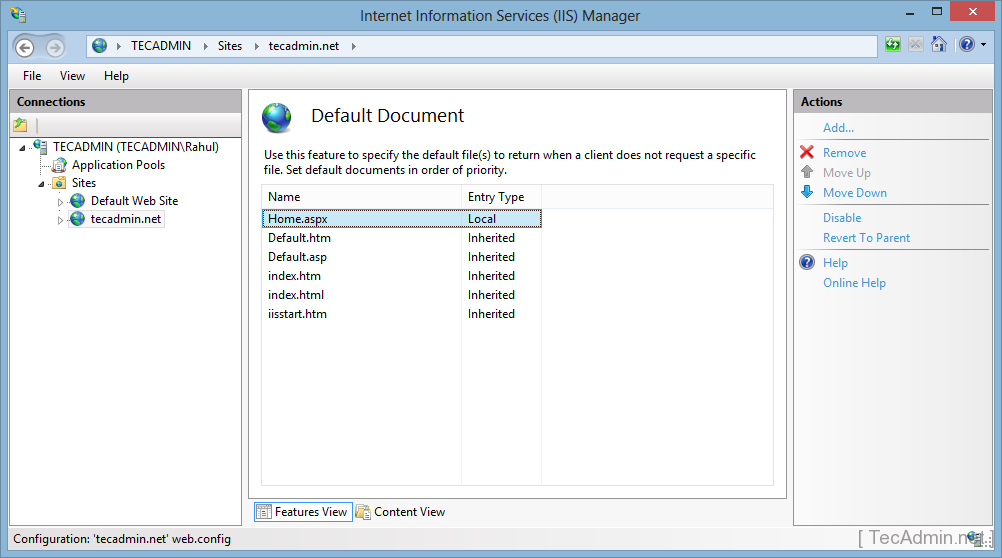
No Select your new filename entered and put it at top of priority order by using “Move Up” button in actions side bar.
Now your default document has been correctly configured for your website in IIS web server.


0 Comments